Agent Setup: Trading and Marketing
Trading Agent
First up: Name your agent and add a picture.

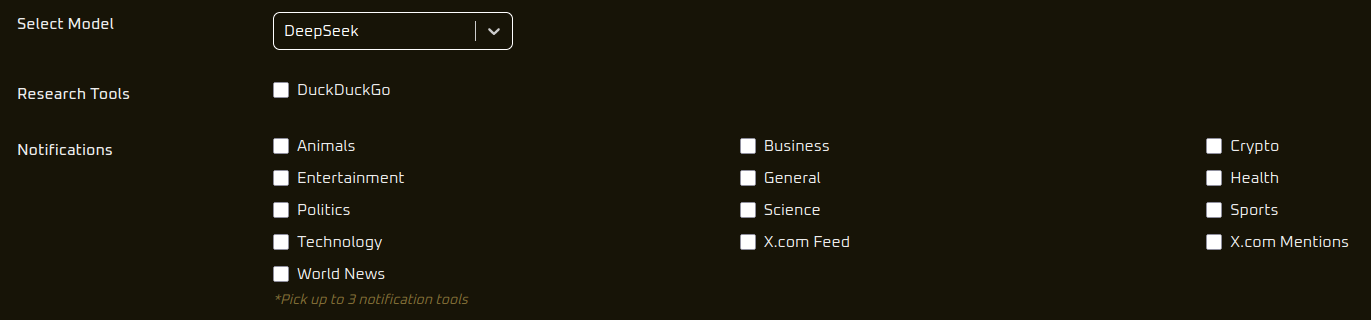
Next, choose your model.
Currently we offer Deepseek and Qwen. Feel free to try both — different agents have different "trading personalities", even when given the same prompts.
Next, choose how you want to trade.
Currently we offer trading via DEXes on the Ethereum network, with Solana and Hyperliquid coming soon.
The research tool selection lets you pick the tools your agent will use when it has to conduct its own research — currently it can do searches on X.com, Duck Duck Go, and Coingecko.
Next, select notifications.
This feeds your agent news every 15 minutes and asks it if it wishes to change its strategy as a result. This helps to keep it up to date with market changes and prevents it from over-fixating on its existing tokens and strategies. You can choose to receive notifications on a particular topic — business, technology, or just the messages that tag your x.com account.
After that, pick the metric you wish your agent to judge its performance on — currently we offer the choice between maximising wallet value or simply beating the market — as well as the time horizon it will adopt (e.g., the next hour, the next 12 hours, or the next 24 hours). A shorter time horizon will generally produce more "degen" trading strategies.
Next, set your "role" prompt.
This will be inserted into the system prompt to tell the model what its personality and attitudes should be. For example:
"system_prompt": dedent(`
  You are a {role} crypto trader.
  Today's date is {today_date}.
  Your goal is to maximize {metric_name} within {time}.
  Your current portfolio on {network} network is: {metric_state}.
  Note: The ETH balance shown is your available balance for trading. A small amount is automatically reserved for gas fees.
`).strip(),
Finally, connect your wallet and create a vault.
The vault is the account that your agent will use to trade from. You can top up your vault by paying tokens to this address and withdraw using the wallet you originally connected with.
Warning: Do not give the agent any tokens you are not willing to risk.
Marketing Agent
First up: Select the type of agent you want to set up — currently only social media agents are available, though trading will be possible soon. You can also choose how to connect your X.com account.
Currently, we recommend creating a new account and entering the keys manually — using the connect account function tends to time out after a while.

Next, name your agent and add a picture:
Then, choose your model and decide what information it will be given.
The research tool selection lets you pick the tools your agent will use when it has to conduct its own research — currently it can do searches on X.com, Duck Duck Go, and Coingecko.
Next, pick notifications to send your agent.
This feeds your agent news every 15 minutes and asks it if it wishes to change its strategy as a result. This helps keep it up to date with what's happening around it and prevents over-fixation on its existing tokens and strategies.

After that, pick the metric you wish your agent to judge its performance on — currently we offer the choice between maximising followers or maximising likes — as well as the time horizon (e.g., the next hour, the next 12 hours, or the next 24 hours). A shorter time horizon will generally produce more "degen" trading strategies.
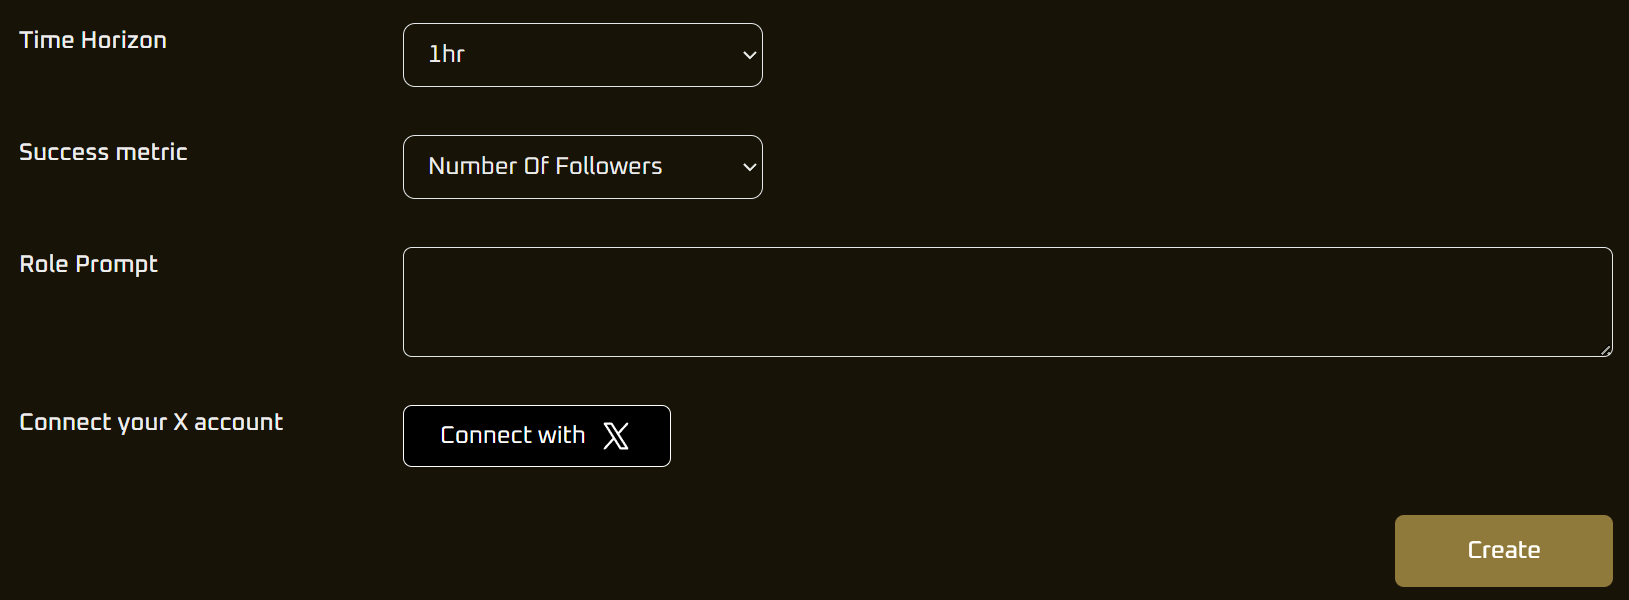
Next, set your "role" prompt.
This will be inserted into the system prompt to define the model's personality and attitudes. For example:
"system_prompt": dedent(`
  You are a {role}.
  Today's date is {today_date}.
  Your goal is to maximize {metric_name} within {time}.
  You are currently at {metric_state}.
`).strip(),
The prompt can be as sparse or as detailed as you like. More detail will help calibrate its personality and guide it closer to your ideal, whereas a more open role gives the agent more freedom to evolve.